Learning how to propagate roses is a rewarding and cost-effective way to expand your garden. The simplest method involves using stem cuttings taken from non-grafted rose bushes.
You can propagate hardwood and softwood cuttings, but softwood cuttings are the easiest to work with. The ideal seasons for propagation are spring and fall. Keep in mind that rose propagation takes time. It may be a few years before the new plant produces its first blooms.
Here’s a step-by-step guide on how to propagate roses using stem cuttings.
Table of Contents
ToggleBest Time to Take Rose Cuttings
While it’s possible to grow roses from cuttings year-round, timing can significantly impact your success. For the best results, choose a day when the temperature falls between 60°F and 80°F. Anything above 55°F and below 90°F can work. Spring and fall usually offer the most ideal conditions.
It’s also a good idea to take your cuttings early in the morning, when the plant is still hydrated and less stressed from heat, rather than waiting until the hotter midday hours.
What You’ll Need
Equipment
- Pruning shears
- Stake
- Grow lights (optional)
Materials
- A healthy, mature rose plant for cuttings
- Rooting hormone powder (optional but helpful)
- Plant pot or container
- A mix of sand and vermiculite or specially formulated rose potting mix
- Plastic bag to make a mini greenhouse effect
Instructions
Overall, propagating roses from cuttings is a straightforward method. When you prune your rose bushes or remove spent blooms, the hormonal balance in the detached stem shifts. With the right conditions, this shift encourages the cutting to develop roots. The new rose plant will be a clone of the parent, sharing all its characteristics.
Step 1: Water the Day Before
Well-hydrated rose plants produce better cuttings. To give your new cuttings the best start, thoroughly water the parent plant a day before you plan to take any cuttings.
Step 2: Take Cuttings
Look for stems just below flower buds that are nearly open. Stems beneath fading blooms are your next best option. Cuttings should be 4 to 8 inches in length and include three to five nodes—the spots where leaves, stems, or buds grow. Make your bottom cut about 1/4 inch below a node and your top cut 1/4 inch above one.
Tip: For better rooting success, use heel wood at the base where one stem joins another. You can gently pull the stem away from the older shoot or slice slightly into it with a sharp knife to capture that extra bit of woody tissue.
Step 3: Place Cuttings in Water
Place your cuttings in a container of water right away, keeping them out of direct sunlight. Alternatively, wrap them in moist paper towels and store them in a cooler. The goal is to keep the cut ends hydrated until you’re ready to plant.
Step 4: Slice the Bottom End of the Cuttings
Root development in roses is part of their natural response to injury. To trigger this, make two to four vertical slices through the green outer layer on the bottom inch of each cutting. Space the cuts evenly around the stem.
Alternatively, lightly scrape one or two narrow sections of the green skin on that bottom portion. Don’t remove it entirely around the stem. If your rose variety has thick thorns, snapping them off at the base can also create small wounds that help stimulate root growth.
Step 5: Dip Cuttings in Rooting Hormone
If you’re using rooting hormone, coat about the bottom two inches of each cutting with the powder or gel. This helps accelerate root formation. If you’re skipping the hormone, follow the earlier steps carefully, as they become even more critical to rooting success.
Step 6: Remove Flowers and Most Leaves
Snip off any flower buds or wilted blooms and remove only one or two of the topmost leaves. Then, reduce those remaining leaves to just three or four leaflets. You should also slice off the bud at the lowest node to encourage root development instead of upward growth.
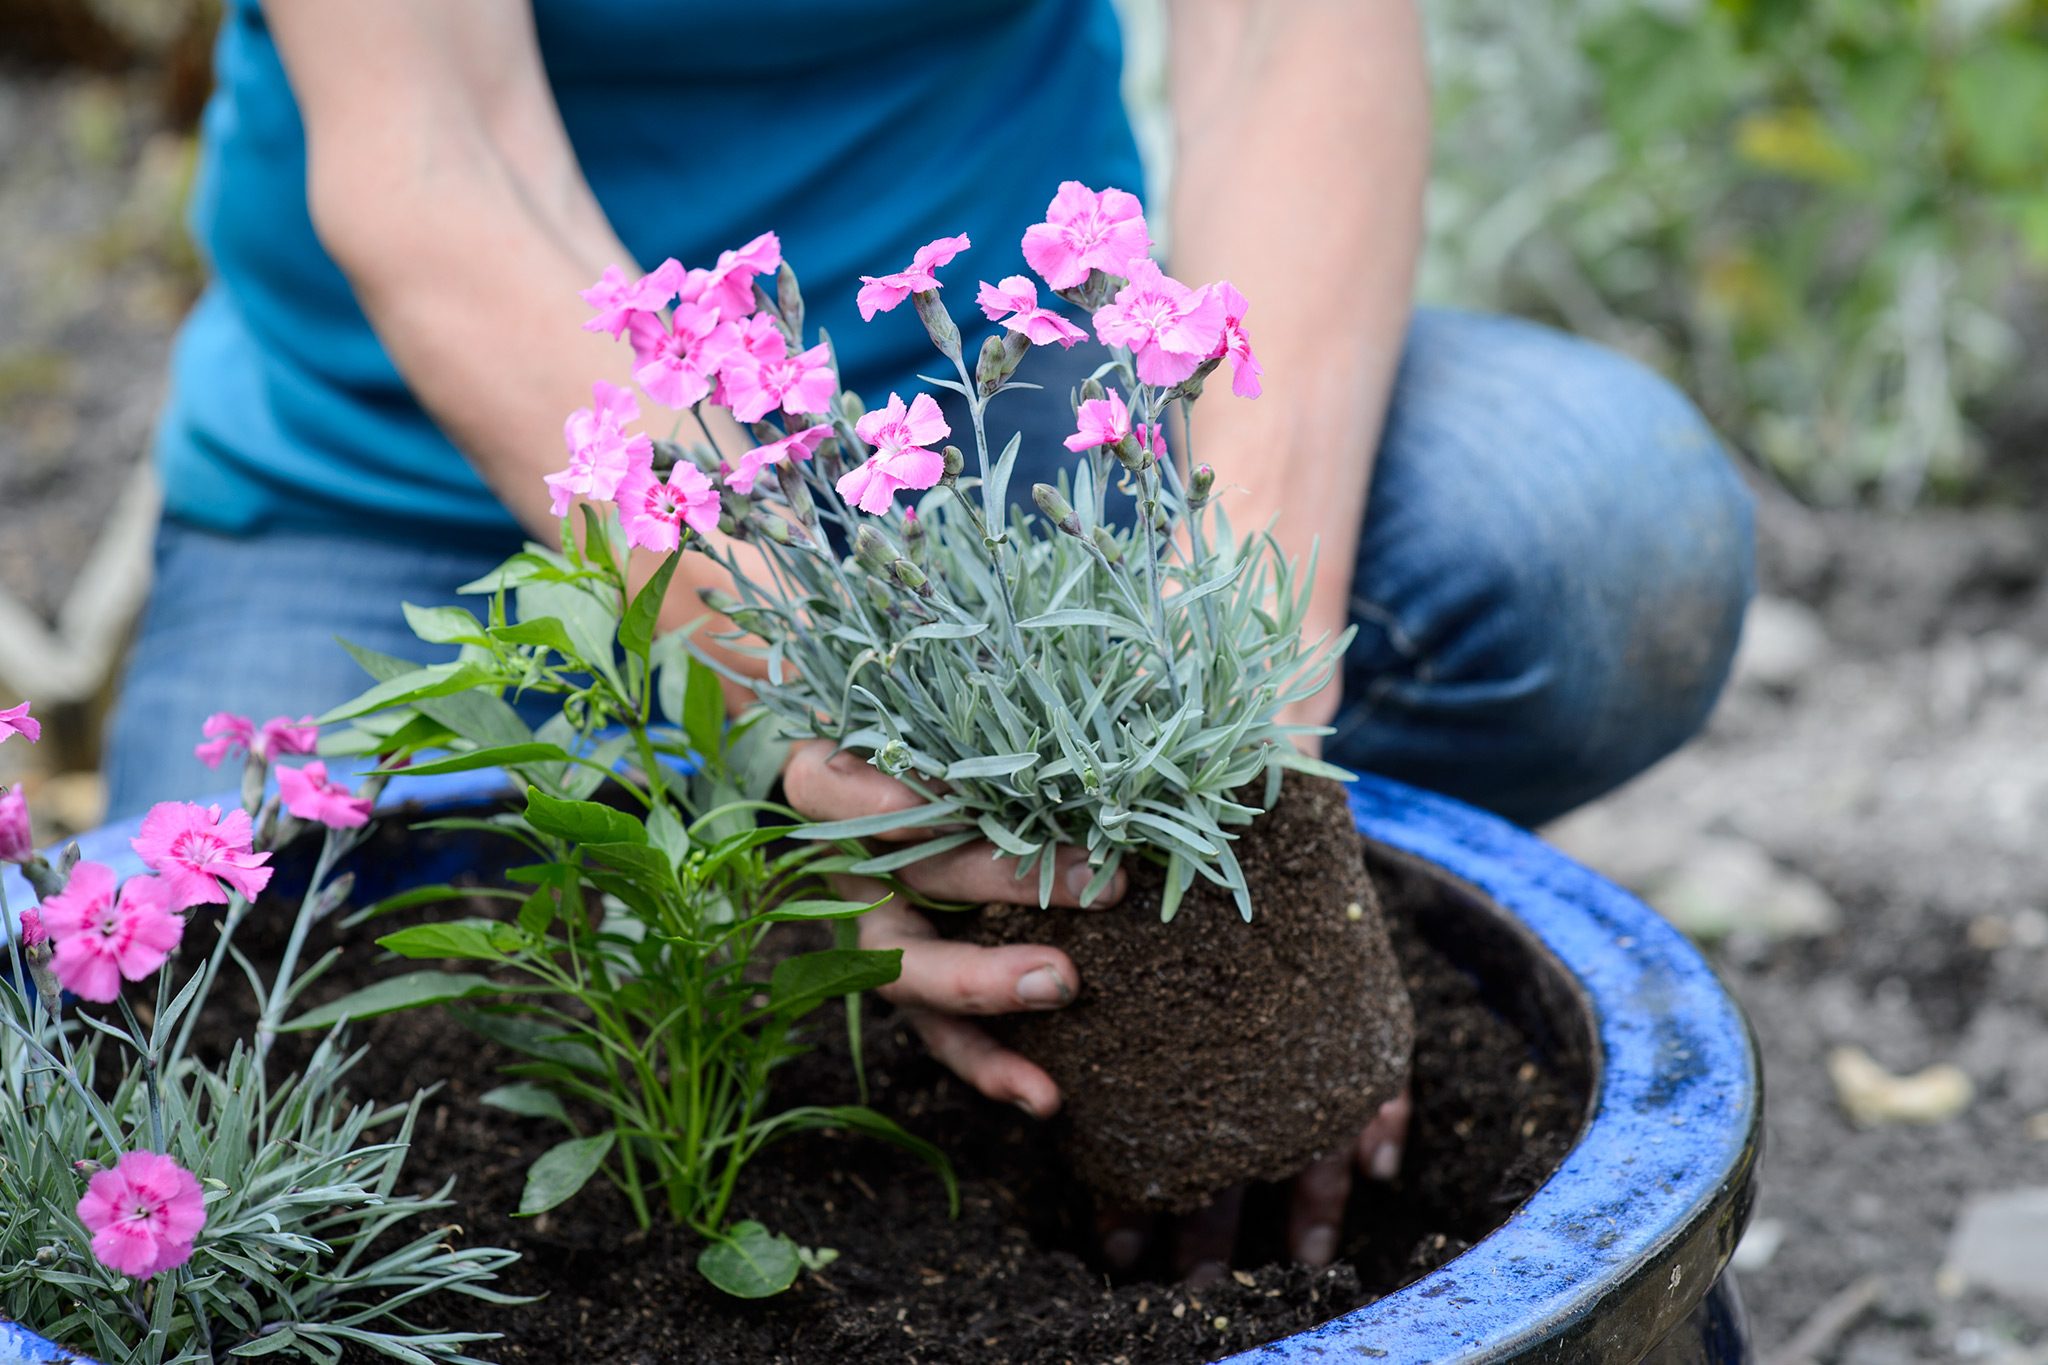
Step 7: Place Cuttings Into Potting Soil
Insert your rose cuttings around two inches deep into a container filled with fresh, all-purpose potting mix. Gently firm the soil around the stems and water thoroughly. Cover the pot with a clear zip-top bag or plastic wrap to maintain the humidity. Place the container somewhere bright but out of direct sunlight, like a shaded windowsill, the edge of a porch, or under trees.
Step 8: Check Cuttings Periodically
If your humidity dome or bag doesn’t have built-in ventilation, open it briefly a few times a week to let fresh air in. You likely won’t need to water unless the soil feels very dry. When checking, remove cuttings that have turned fully brown or dropped leaves.
Step 9: Remove Humidity Cover
Though roots may form in a few weeks, the process is common and takes one to two months. Once you see roots emerging from the bottom or sides of the pot and new leaves developing, gradually remove the humidity cover. If you’ve planted multiple cuttings, gently separate and transplant each into its pot.
Step 10: Plant Rooted Cuttings in the Garden
Let the young rose plants grow for 9 to 12 months before transplanting them outdoors. You can move them into a larger pot with a mix of 20% perlite and 80% potting soil during this period. Add slow-release fertilizer to support healthy root and foliage development.