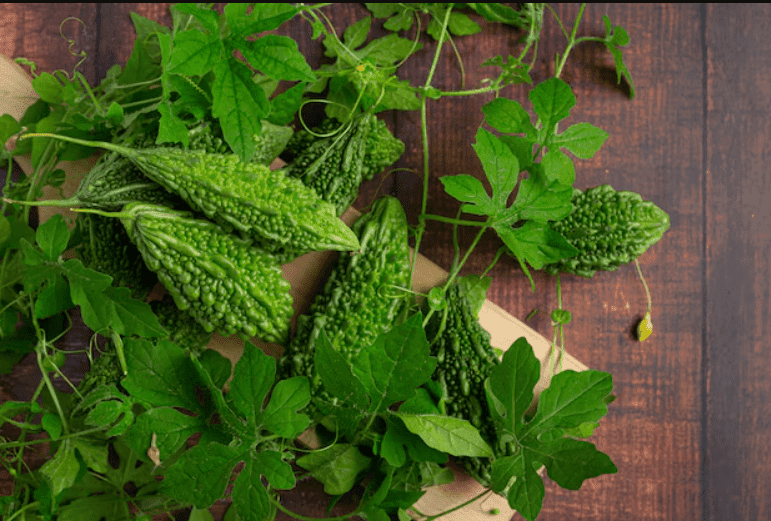
Bitter gourd is a member of the Cucurbitaceae family. It grows well in warm, rainy seasons and grows year-round in areas without extreme winters. It has a bitter taste and offers excellent health benefits, especially for people with diabetes. The plant grows as a climbing vine or creeper and reaches up to 16 feet in length. Native to India, bitter gourd is now cultivated widely across Asia, Africa, and the Caribbean.
In Pakistan, bitter gourd takes centre stage in dishes like curries, fries, and stews. The smaller varieties work perfectly for stuffed bitter gourd recipes.
Learning how to grow bitter gourds is simple. Whether you want to grow in soil or containers, it needs proper support for its climbing vines. The ideal growing period is from December to July.
Table of Contents
ToggleHow to Plant Bitter Gourd
Luckily, bitter gourds are easy to grow from seeds. The following is an easy guide on how to grow bitter gourd in your garden:
Soil Prep
Bitter gourds need nutrient-rich, well-draining soil mixed with aged compost or manure. Maintain a soil pH between 5.5 and 6.5 for optimal growth. Good drainage is essential to keep the plant healthy and thriving.
Sowing
You can use seeds from a ripe bitter gourd (remove the outer red covering) or purchase seeds from a local nursery. To speed up germination, soak the seeds overnight in water.
Sow the seeds 0.5 inches deep in the soil and leave a 12-inch gap between each. For container gardening, choose a container at least 12 inches deep. Depending on the weather, seeds germinate in about 2–3 days.
Prune the growing tips once the vine reaches 3 feet in length. It encourages lateral shoots and boosts flower production.
How To Grow Bitter Gourd
Growing bitter gourd is simple when you start with healthy, fertile soil. Here are key tips on how to grow bitter gourd and successfully harvest.
Sunlight
Bitter gourd loves sunlight, so ensure it gets plenty of light throughout the day. If temperatures exceed 30°C, protect it from the harsh afternoon sun by using a simple shade net. It prevents heat stress and keeps the plant healthy.
Watering
Keep the soil evenly moist to ensure healthy fruit development in bitter gourds. Water gently in the morning or evening when the topsoil feels dry to the touch. Avoid overwatering.
Fertilizing
During growth, apply aged compost as a side dressing to boost nutrients. If the soil lacks fertility, use comfrey or seaweed tea to enrich it and support healthy plant development.
Supporting
Supporting the climbing bitter gourd vine improves yield and reduces the risk of pests and diseases compared to when it grows along the soil. A height of 6–8 feet is ideal for climbing gourds. Here are some support options:
- Existing Fence or Railing: Utilize fences or railings in your garden as natural supports.
- DIY Structure: Build a simple support using bamboo poles or discarded tree branches. Set up four pillars with a roof-like structure across them. Check out the details in my blog, “How to Start a Kitchen Garden”, for step-by-step instructions.
- Metal Grill: A sturdy metal grill works well to provide long-lasting support.
Flowering
The bitter gourd vine produces both male and female flowers. Bees and other pollinators naturally handle pollination if your garden has enough flowering plants. However, if pollinators are scarce, you can manually pollinate by gently rubbing a male flower against the centre of a female flower.
To identify a female flower, look for a small, bitter gourd-like swelling at the base between the vine and the flower. Manual pollination ensures better fruit production in low-pollinator environments.
How to Harvest Bitter Gourd
The bitter gourd will be ready for harvest within 2–3 months of sowing. For the best results, pluck the gourds when they are tender and green, preferably in the morning. Since bitter gourds ripen quickly, keep an eye on the plant and harvest at the right time.
To save seeds for the next sowing, allow one gourd to ripen fully on the vine. Once ripe, cut it open, remove the seeds with their red coating, wash them, and dry them thoroughly before storing.