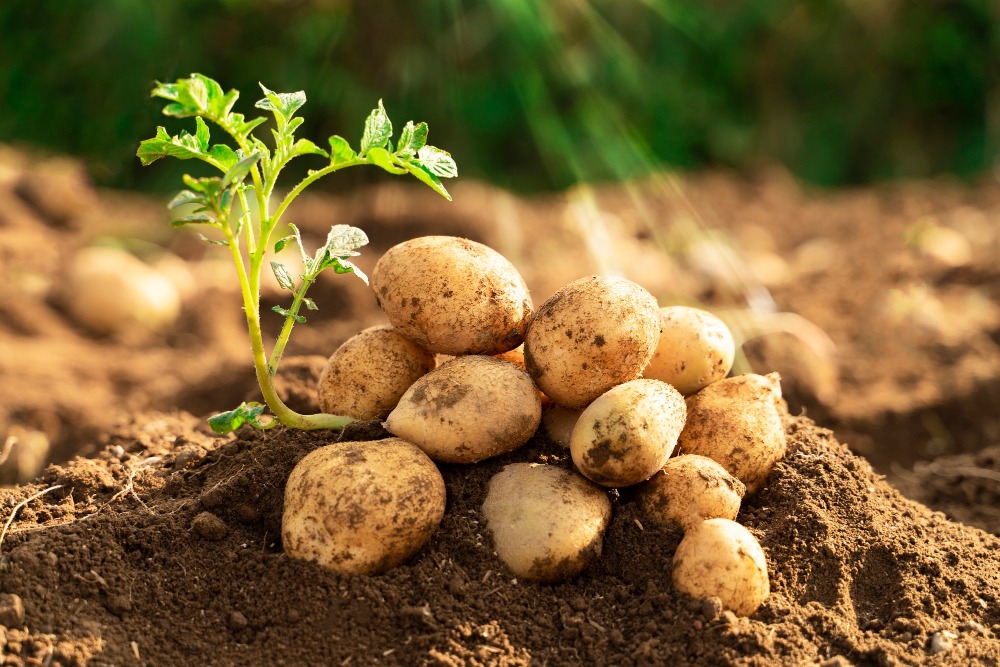
No one can hate a potato. Right? Potatoes continue to be the nation’s favorite vegetable no matter what. If you’re passionate about potatoes, you’ll be thrilled to know that you can grow many exciting varieties at home. Plus, you don’t need a garden—many types thrive in large bags or pots on a balcony or patio.
About Potatoes
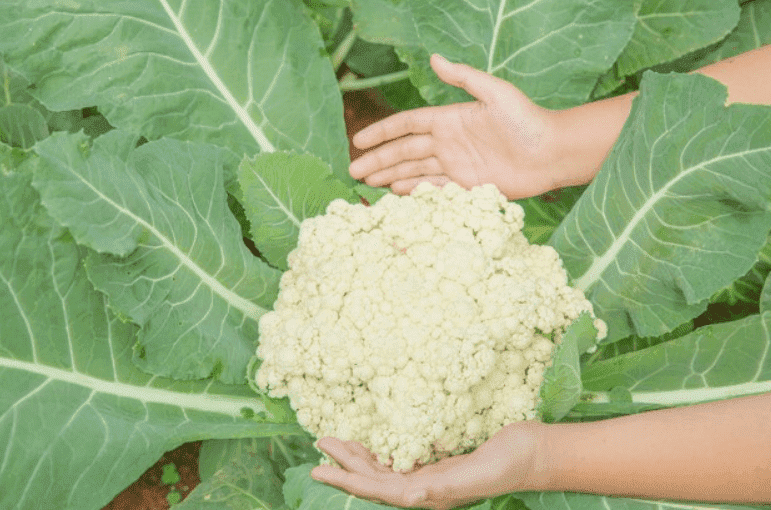
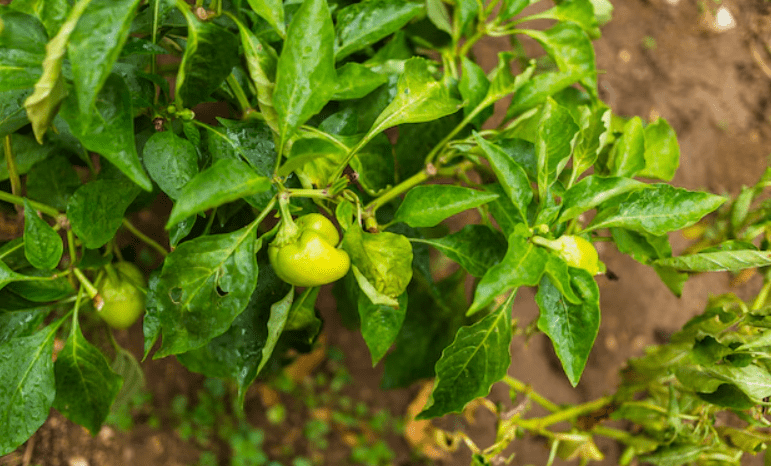
The potato thrives in cool weather, usually producing larger crops in the northern areas, but you can also grow them as a winter crop in warmer climates. Related to peppers, tomatoes, and eggplants, potatoes are well-suited to higher elevations and more challenging growing conditions.
Potatoes are a rewarding crop, offering a high yield if you provide the right growing conditions. Once planted, they require little attention until harvest. Even better, potatoes are stored well so that you can enjoy your harvest for months.
When to Plant Potatoes
You can plant potatoes 2 to 4 weeks before the average last frost date, as long as the soil temperature reaches at least 55°F during the day and 45°F at night. However, focusing on soil conditions is more important than the calendar when deciding when to plant. The soil should not be too wet and dry enough to work without sticking together. If spring is late and wet, you can plant later—through April, depending on your location, or even as late as June, especially when using containers.
In cooler regions, early-maturing potatoes are typically planted in early to mid-April. In warmer areas, planting times vary from September to February.
4 Methods to Plant Potatoes
There are different ways you can plant potatoes; these are:
Dig Holes: Dig a hole about 6 inches (16 cm) deep for each seed potato. Add a bit of slow-release organic fertilizer, then place the potato with the sprouts facing up and cover it with soil. Space early potatoes about 16 inches (40 cm) apart in all directions, while maincrop potatoes need a bit more room, so space them 18 inches (45 cm) apart.
Dig V-shaped trenches: Create 2 to 2.5 feet (60 to 75 cm) wide trenches. Add a layer of garden compost along the bottom, and place the seed potatoes about 1 foot (30 cm) apart. Fill in the trench with soil. The planting method you choose depends on your space and preference; both methods work well.
Plant in Straw: Lay seed potatoes on the soil surface and cover them with straw.
Plant Potatoes in Pots: If you lack garden space, here’s how to grow potatoes in large containers, old compost sacks, or specially designed-potato sacks. Start by filling the bottom of the container with about 4 inches (10 cm) of potting mix. Place one or two seed potatoes on top and cover them with more mix. As the foliage grows, add more potting mix to “hill” them until the soil reaches the top. The foliage will grow rapidly once it reaches this point.
How to Grow Potatoes
Potatoes are grown using a technique called “hilling.” Start by planting the seed potatoes deep in the soil, then gradually mound more soil around the stems as the plants grow upward. Here’s how to grow potatoes and get started with your initial planting.
What You’ll Need
- Garden plot or container in full sun
- Loose, well-draining soil
- Hand trowel
- Gardening gloves
- Seed potatoes
- Mulch
Step 1: Select a Seed Potato
To start new potato plants, it’s best to use fresh seed potatoes, different from grocery store potatoes. Seed potatoes are certified disease-free and not treated with chemicals. They are less prone to disease and more likely to provide better yields. Plus, they offer a wider range of varieties you won’t find in stores. You can find seed potatoes at garden centers, farm stores, nurseries, and seed companies.
Step 2: Wait Until Cool Weather
Potatoes like to grow in cool weather, so it’s best to plant them in early spring as soon as the soil can be worked. They can handle a light frost, so aim to plant them 2 to 3 weeks before your last frost date or when the soil temperature reaches 45°F. A soil thermometer can help you get an accurate reading. If there’s a late-season heavy frost in the forecast, cover your potato plants to protect them until the frost threat has passed.
Step 3: Prepare the Garden Bed
Potatoes are root vegetables that grow deep, so they do best in loose, well-draining, slightly acidic soil. If your soil is heavy clay, mix in compost or fertilizer before planting to improve soil structure. It is part of how to grow potatoes successfully.
While many gardeners plant potatoes directly in the ground but thrive in raised garden beds, containers, and grow bags. Regardless of where you plant them, ensure they receive at least 6 hours of direct sunlight daily.
Step 4: Prepare the Seed Potato
When you receive your seed potatoes, they might still need to sprout. To encourage sprouting, place them in a sunny area, either indoors or outdoors, with temperatures between 60 and 70°F for a week or two before planting.
If the seed potatoes are smaller than 2 inches, you can plant them whole. Cut larger seed potatoes into 2-inch pieces using a sharp, clean knife, ensuring each piece has at least one eye or bud. Cut them a day before planting to allow the cut surfaces to be insensitive. This step helps prevent rot and improves water retention once they are grown.
Step 5: Dig a Trench and Plant
Dig a trench 6 to 8 inches deep in the soil. Place the seed potatoes cut-side down with the eyes facing up. Space them 12 to 15 inches apart, with rows at least 3 feet apart.
Step 6: Cover the Seeds and Mulch
Cover the seed potatoes with 4 inches of soil. When the seedlings appear, add a layer of mulch to help retain moisture, control weeds, and keep the soil cool.
Ensure the seedlings receive 14 hours of light daily for the first two weeks. After this initial period, they should be in a spot with at least 6 hours of direct sunlight daily.
Step 7: Wait to Water
While most newly planted garden crops benefit from thorough watering to kickstart their growth, potato plants are an exception. Seed potatoes can be susceptible to disease if exposed to excessive moisture, so it’s best to wait until the potato plants have sprouted above ground before you begin watering them.
Hilling Potatoes
It’s essential to keep potato flavor buried and shielded from light to enhance them. As the potato plants grow, periodically “hill up” or mound soil and compost around them so that only the top leaves remain exposed. It prevents the potatoes from being exposed to sunlight, which can turn them green and cause the production of solanine—a bitter and toxic chemical. Perform the hilling in the morning when the plants are tall, as they tend to droop during the day’s heat. Use a hoe to draw up soil every time the stems reach about 6 to 8 inches (15 to 20 cm) tall, exposing only the very tops. Continue this process in stages until you can’t add more soil or the foliage covers the rows completely.
Harvesting and Storing Potatoes
Harvest “new” (immature) potatoes once the plants begin to flower as part of how to grow potatoes. Pull some soil around the plants to find a few small tubers, then replace the soil so the plants can continue growing. For full-sized potatoes, wait until the plant tops have died. Use a garden fork to carefully dig up the entire plant, careful not to bruise or pierce the potatoes. Bring the harvested potatoes indoors and place them in a dark, cool, and humid area (like an unfinished basement or garage) for two weeks to “cure,” which will thicken and dry the skins for storage. Store the cured potatoes in a covered, ventilated box or bin.