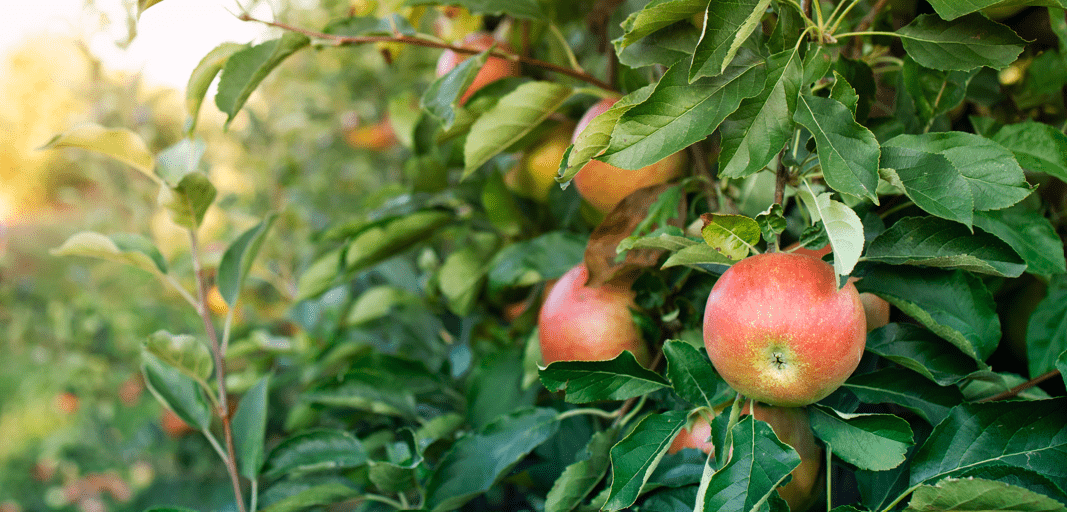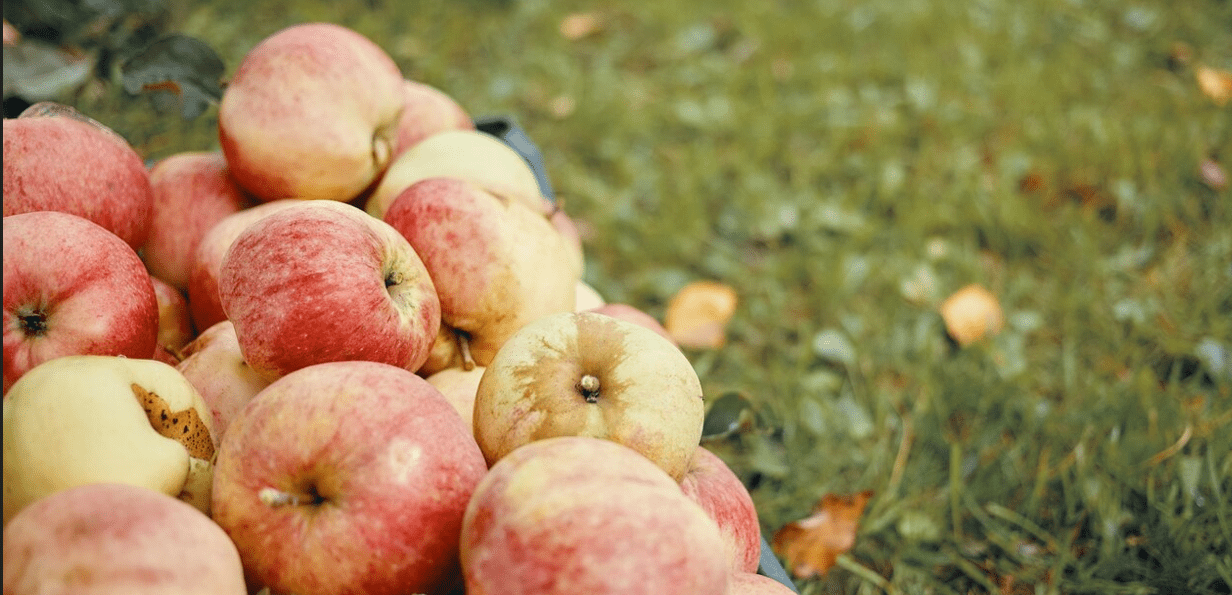
While everyone says grafting is easy, trust me, it’s not! It takes practice and patience to cut a piece of wood so precisely that two pieces merge and grow. You can’t master this skill just by reading a text. Hands-on learning is essential. Still, I’ve compiled a guide on grafting apple trees to give you a basic understanding. With the correct technique, your first graft could produce a tree that lasts a lifetime.
Graft in the latter half of winter when the tree is dormant, but not too long before the sap starts rising again. Once you get the hang of it, grafting becomes a cost-effective way to grow new trees.
Table of Contents
ToggleWhat is Grafting?
Grafting an apple tree means joining a scion with a rootstock. A scion is a young shoot or bud from a desired apple variety. The rootstock forms the lower part of the tree and supplies the root system.
Why Graft an Apple Tree?
You might be wondering why you should learn how to graft apple trees. Here’s why:
- It strengthens the tree and boosts productivity
- It protects it from diseases
- It controls its size
- It adds new apple varieties to an existing tree
- It preserves rare or unique apple varieties
Types of Grafting
There are multiple techniques used to graft an apple tree. Some of the common ones are:
Whip Grafting
It is one of the most straightforward techniques, also known as tongue grafting. It involves cutting the rootstock and scion wood at an angle and fitting them together for a secure bond. Wrapping the graft with grafting tape keeps the pieces in place while healing.
Cleft Grafting
Use this technique when the rootstock is larger than the scion wood. Start by making a small V-shaped cut at the top of the rootstock. Then, shape the scion wood to fit snugly into the cleft. Secure the graft with grafting tape or any other material to hold it in place while it heals.
Bud Grafting
This method is also known as chip budding. The process involves transplanting a single bud from the scion wood onto the rootstock.
How to Graft an Apple Tree
Here, I’ve mentioned how to do whip grafting. To get started, you will need these materials:
- Rootstock
- Scion from the desired apple variety
- Grafting tape
- Pruning shears or a sharp knife
- Wax or grafting compound
- Rubbing alcohol or hydrogen peroxide
Select the Scion Wood
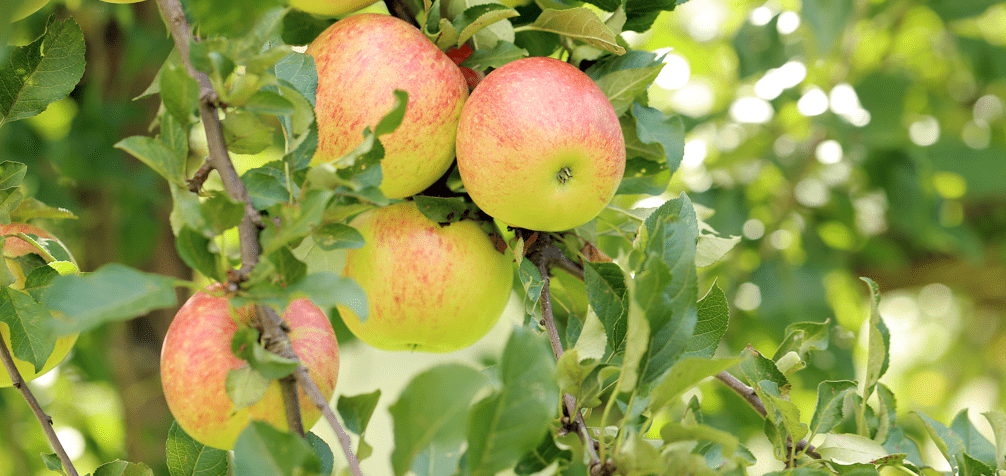
Choose a healthy, disease-free branch from a mature apple tree with the desired traits. Cut the branch into 8—to 10-inch pieces, ensuring each has three to four buds.
Select the Rootstock
Choose a healthy, disease-free rootstock that is compatible with your scion wood. The right rootstock ensures strong growth and adaptability.
Prepare the Scion Wood
Here’s a typical part: Cut the scion wood precisely at a 45-degree angle below a bud. Remove any leaves or buds from the bottom half of the cutting to ensure a clean graft.
Prepare the Rootstock
Cut the rootstock precisely at a 45-degree angle, about 6 inches above the ground. Remove any extra shoots or branches from the base to create a clean grafting surface.
Make the Graft
If the cuts are clean and precise, this step will be easy. Insert the scion wood into the rootstock and ensure the cambium layers align. Secure the graft firmly with grafting tape or a rubber band to keep the pieces in place while they heal.
Seal the Graft
Apply grafting wax or sealant over the graft union to protect it from pests, disease, and moisture loss.
After Grafting Care
Water the tree regularly and shield it from extreme temperatures and pests. Remove shoots growing from the rootstock below the graft union as the graft develops to prevent competition.
Grafting takes practice, so don’t worry if it doesn’t work perfectly the first time. Also, not all apple varieties are compatible with every rootstock. Research the best combinations for your location to increase your chances of success.
Best Time To Do Whip Grafting
Perform whip grafting in early spring before the apple tree starts to leaf out. At this stage, the tree is still dormant, which allows the graft to heal without disrupting growth. The ideal time is when daytime temperatures stay above freezing, and the soil is workable.
The timing depends on your location and the types of apples. As a rule, graft before the buds start to swell and the tree breaks dormancy, typically from late March to early April in most areas. For the best results, check with your local Cooperative Extension Service or a knowledgeable nursery for region-specific guidance.
Best Age for Grafting an Apple Tree
Apple trees are best grafted when they are one to two years old. At this stage, they are strong enough to handle the stress of grafting while still being small and manageable.
Key Points For Beginners
Note that selecting the right rootstock is just as important as timing. Some rootstocks produce large trees, while others create smaller trees. Your choice should depend on your preference for tree size, soil conditions, and climate.
If you’re new to grafting, start with young apple trees, which are easily manageable and less likely to be damaged. As you gain experience, you can try grafting older, more established trees.
Even with successful grafting, the tree may mature and produce fruit for several years. With patience and careful attention, grafting can be a rewarding way to grow high-quality apple trees.