The Aloe vera plant packs a powerful punch regarding health benefits. You can slather it on a fresh, prickling sunburn to cool your skin and soothe irritation. You can even add a dollop into your smoothies or desserts to support digestion and boost your immune system. Or add a little to your tea at night for a natural sleep aid.
With so many uses, it’s no surprise that Aloe runs out fast. Growing your own ensures you always have a fresh supply while saving money in the long run. The best part is propagating Aloe vera is surprisingly easy. You just need a mature plant, a container, the right soil, and these expert tips.
Table of Contents
ToggleAbout Aloe Vera
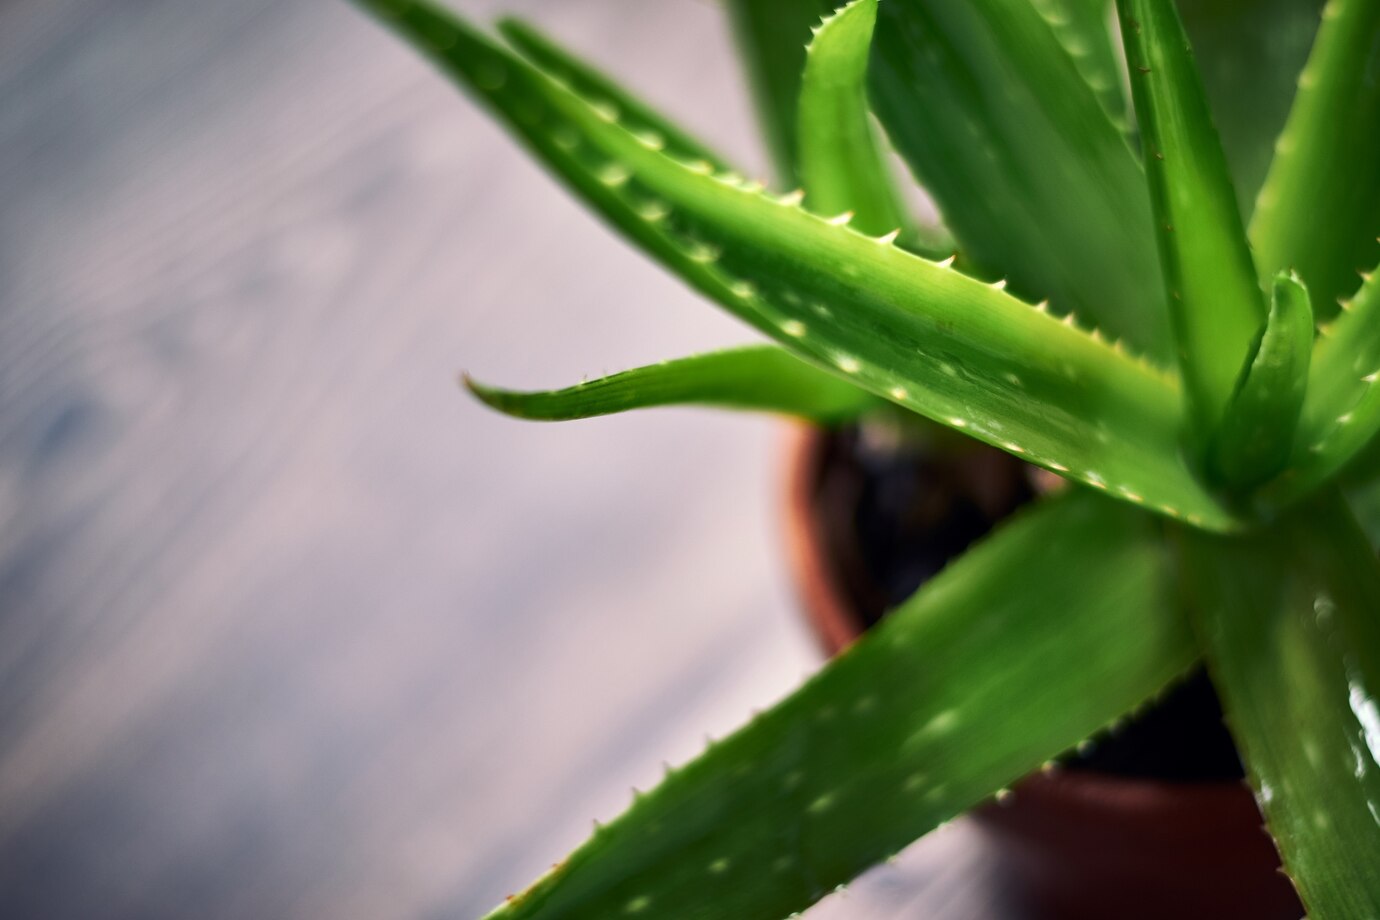
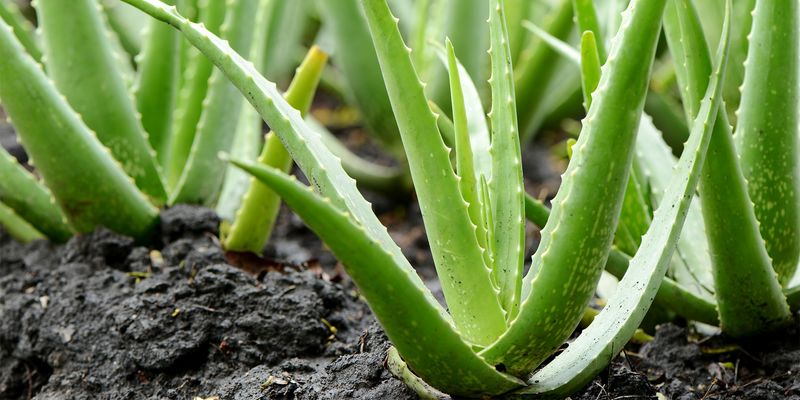
Aloe, or Aloe vera, grows as a tender plant with a rosette of long, slender, fleshy leaves lined with soft, spiny teeth along the edges. Cut open a leaf, and you’ll find a gel-like substance many health experts use in beauty treatments and recipes.
The interior pulp contains aloin, a compound known for its anti-inflammatory properties. While Aloe offers plenty of benefits, some plant parts are toxic. If you plan to use it in recipes, research safe consumption methods.
How to Propagate Aloe Plants
You can propagate Aloe vera using two simple methods, both of which require just a few basic supplies.
Materials:
Trowel
Pots
Sandy soil
Pruning snips
Method 1: Repot Aloe Vera Offshoots
Planting Aloe in the ground or a pot naturally produces offsets, or “pups,” near its base. The best way to propagate Aloe is by carefully removing these offshoots.
To do this, use a trowel to loosen the soil around the pups, then gently pull them out while keeping as much of the root system intact as possible.
Plant the young Aloe pups in appropriately sized containers as individuals or small groups to create a more established-looking container plant. Since Aloe vera is a succulent, it thrives in well-draining, sandy soil.
Each newly potted pup will grow into a mature plant and produce even more offsets over time.
Pros:
Offsets or pups come with roots to ensure faster growth and easy establishment. They also retain the characteristics of the parent plant.
Cons:
For this method, you need a mature aloe plant with offsets or pups.
Method 2: Propagate Aloe Vera from Cuttings
Propagating aloe vera is most effortless with pups, but you can also use cuttings. Cutting mature leaves back encourages healthy new leaves.
To propagate from cuttings, use pruning snips to make a clean cut on a mature leaf. Place the clipped leaf on a dry paper towel and keep it away from direct sunlight.
Let the cut dry for a few days until it forms a scab. If the leaf starts to rot or decay, eliminate it and try again with a fresh one. Once the cut end has thoroughly dried, plant it in damp (not wet) soil and wait for it to root.
Pros:
This method is simple and beginner-friendly. You can grow multiple new plants from a single leaf and easily observe the root growth process.
Cons:
The new plant takes time and consistent care, so you need patience.
Why You Should Propagate Aloe
Aloe plants tend to become crowded as new shoots continuously sprout from the base of a healthy mother plant. Overcrowding isn’t ideal for their growth, so making space is essential.
Dividing the plants is the best way to create room for new leaves and roots. Cutting off large leaves at the base can also help new shoots get more light and space without dividing the entire plant.
Caring for Propagated Aloe Vera
Whether you repot offshoots, take cuttings from mature plants, or do both, proper care ensures your aloe vera thrives. To keep it healthy, use well-draining soil and let it dry out between waterings.
Aloe thrives in arid environments and rots easily if the soil remains too wet. Use a pre-mixed succulent soil or add coarse sand (never beach sand), rock grit (such as chicken grit), lava rock, perlite, or other sieved aggregates to standard potting soil.
Aloe vera prefers indirect sunlight, so place it somewhere that avoids harsh, direct sun. After repotting or replanting, hold off on watering for the first two weeks to let the roots settle. Once established, water sparingly about once every few weeks to prevent overwatering.