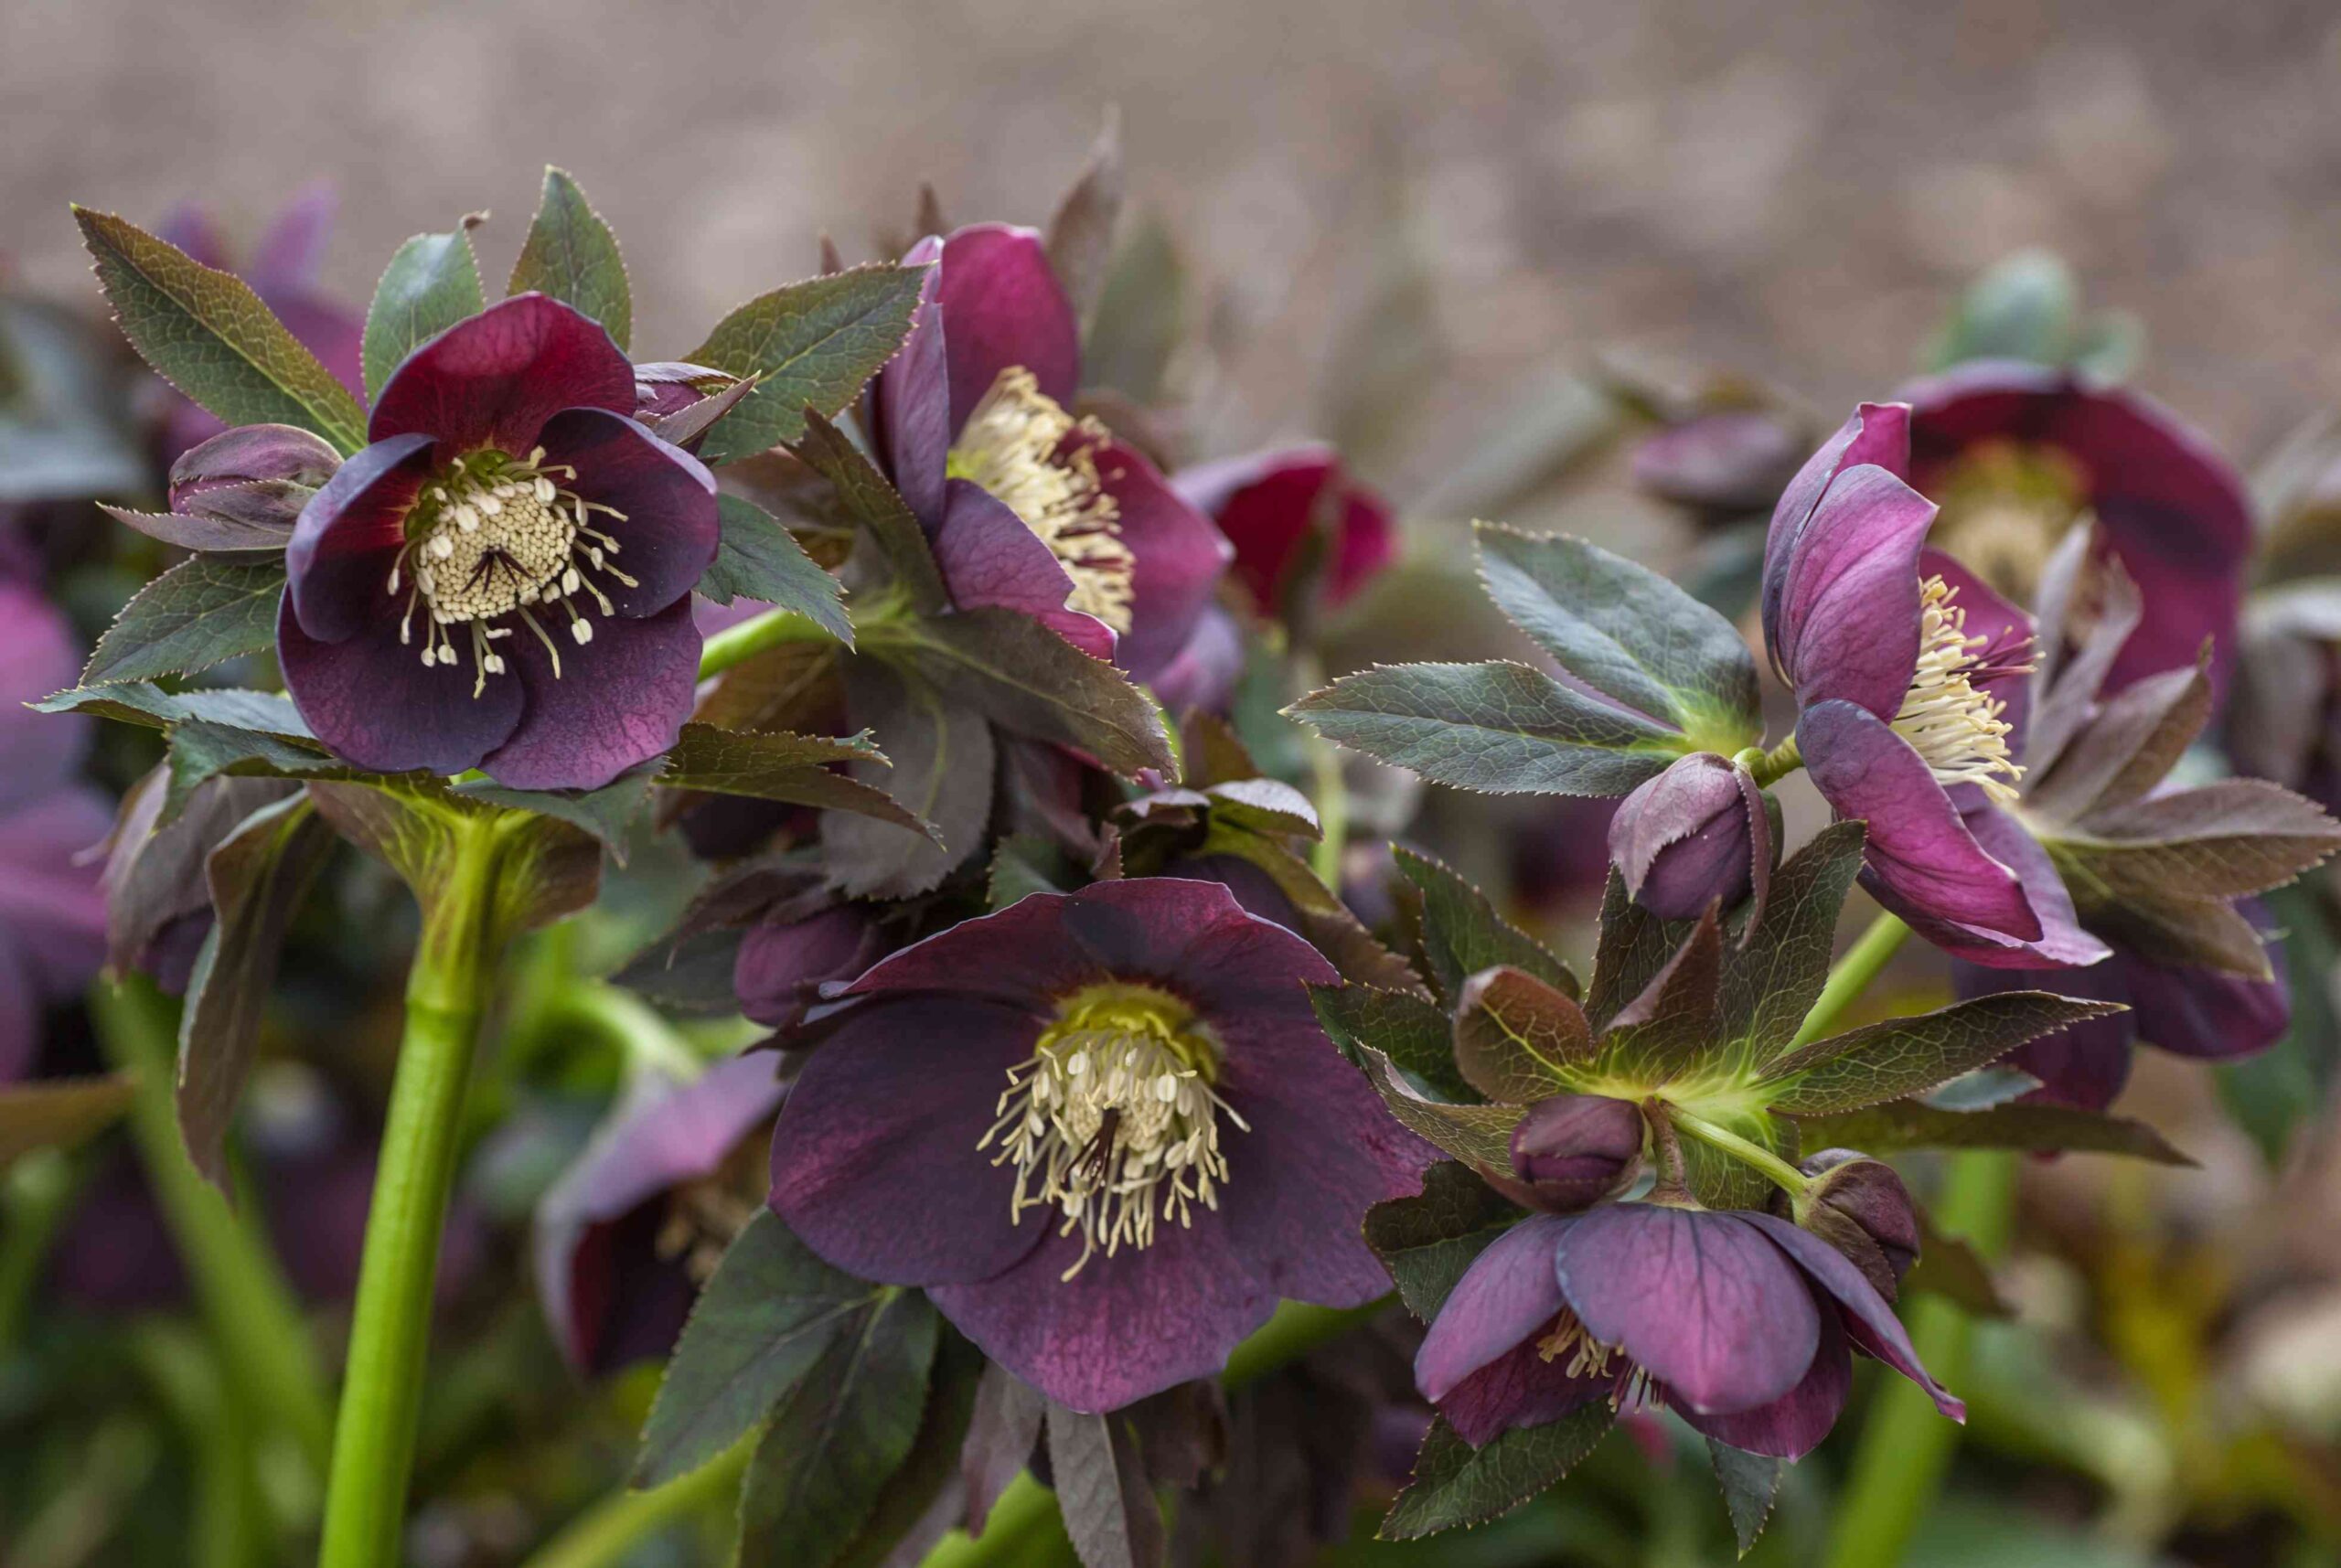
Hellebores are simple to cultivate and require minimal care. They maintain their charm from January through May. Even after they’ve gone to seed, their sepals remain attractive, gradually shifting to a green hue. The foliage is striking and evergreen; in some newer hybrids, the veined or marbled leaves are admired nearly as much as the blooms.
Hellebore flowers come in various colors, including tones of pink, purple, green, and white. They may appear striped or speckled, picotee-edged or solid, with forms ranging from double and anemone-style to classic single blooms.
While fewer pollinators are active during the hellebore’s blooming season, their flowers offer abundant nectar and pollen. Most hellebores produce nodding blooms, which not only safeguard the pollen from winter moisture but also create a cozy refuge for visiting insects. One of the most captivating elements of growing hellebores is the interactive experience. Gently lift their downward-turned blossoms to admire the distinctive beauty of each one.
They also work wonderfully as cut flowers. Just snip off the flower heads and float them in a shallow water dish for an elegant display.
Table of Contents
ToggleHow to Grow Hellebores
Plant hellebores in rich, well-draining soil at the front of garden beds, beneath bushes, or in spacious containers, where they’ll receive full sun to dappled shade. When the blooms and fresh leaves start to appear, trim away the older, tough foliage to keep the plant tidy and healthy. Each year, apply a layer of well-rotted compost or organic manure around the base to nourish the soil. Once hellebores have settled in, it’s best to leave them undisturbed.
Where to Plant Hellebores
Hellebores are generally found along woodland edges and flourish in nutrient-rich, moisture-retentive soil, though they dislike overly wet or waterlogged spots. Most varieties can handle anything from full sunlight to near-complete shade. They work beautifully in relaxed, natural-style gardens and pair especially well with early spring bulbs, lungworts (pulmonarias), and evergreen ferns.
Position hellebores at the front of garden beds in sun or shade (full or partial), depending on the specific type. They perform best in fertile, free-draining soil but can also thrive in pots filled with loam-based compost. Once their container display has finished, you can transfer them to a garden bed for continued growth.
When to Plant Hellebores
If you’re wondering how to grow hellebores, timing is key. These hardy perennials can be planted any time of the year as long as the soil isn’t frozen. They’re usually available in nurseries and garden centers during their blooming season from late winter through early spring. You also might come across discounted plants in summer, which can still be planted successfully. Just keep in mind that hellebores dislike being disturbed once established, so choose their spot carefully and avoid relocating them later.
How to Grow Hellebores From Seed
Hellebore seeds have a short shelf life, so it’s best to use fresh seeds whenever possible. You can sow fresh seeds in containers and leave them outdoors over the summer. Keep the soil consistently moist, and you’ll typically see them sprout by autumn or the following spring.
If you’re gathering seeds directly from mature plants, sow them immediately as they usually germinate easily. However, if the seeds are left out of the soil for too long, they develop a tough outer shell and enter dormancy, which may delay germination by a year or more.
Stored seeds need to be stratified before sowing. Outdoors, this happens naturally with seasonal changes, but if you’re starting seeds indoors, the process requires a bit more care.
Soak the seeds in hot water until they swell. This might take a day or two. Afterward, plant them in pots filled with potting mix and keep the temperature about 70°F (21°C) for six weeks. Then shift the pots to a cooler area, about 50°F (10°C). Germination should occur within four to six weeks after this cold period.
How to Care for Hellebores
Watering: Once hellebores are established, they’re pretty tolerant of dry conditions. After planting, water them weekly until you notice new growth. After that, only water during prolonged dry spells. Keep in mind that hellebores don’t do well in soggy soil, so avoid watering in winter or overdoing it in heavy, clay-rich ground.
Feeding and Mulching: Give your plants a yearly boost by applying a generous layer of well-rotted compost or aged manure around their base.
Winter Care: As the flowers and fresh foliage begin to appear, trim away the older, thick leaves to keep the plants looking tidy and to help prevent disease.
How to Propagate Hellebores
Hellebores don’t take well to being relocated, so it’s best to avoid dividing them. They also can’t be propagated from cuttings. The most reliable way to grow new plants is by collecting ripe seeds and sowing them in trays or modules. This method gives you fresh plants without spending a penny.
Alternatively, you can let hellebores self-seed naturally throughout your garden. Keep in mind, though, that seedlings won’t be exact copies of the parent plants. By allowing them to spread on their own, you’ll end up with a charming mix of flower shapes and colors. You may even grow your very own hybrid.
Common Pests and Diseases
Hellebores are generally resistant to most pests, but aphids can occasionally be problematic. If you notice any infested areas, trim off the affected areas and treat the plant with horticultural oil or an appropriate pesticide.
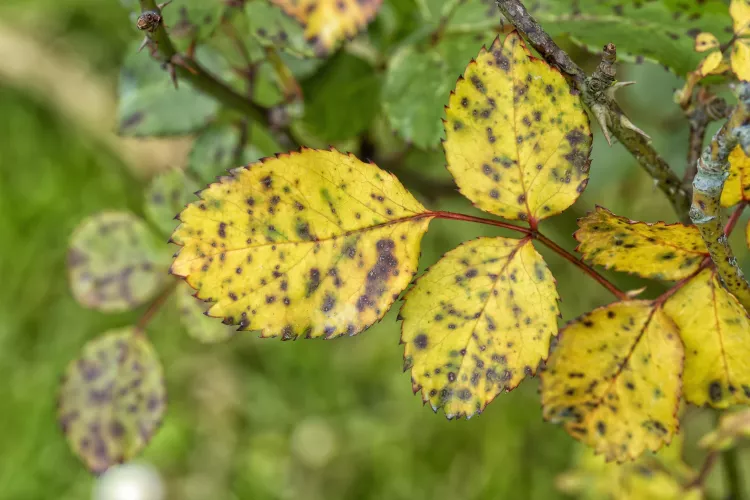
The most common diseases affecting hellebores are fungal, such as leaf spot and downy mildew. These can usually be managed with fungicides if the infection becomes severe.
One of the more serious threats is the Black Death disease, which results in stunted growth and dark streaks on the plant. This condition is caused by the Helleborus net necrosis virus, spread by aphids. Unfortunately, there is no cure, so you must remove all infected plants completely. Regular monitoring and controlling aphid populations is key to preventing the spread.